Looking to add versatility to your overlanding vehicle?
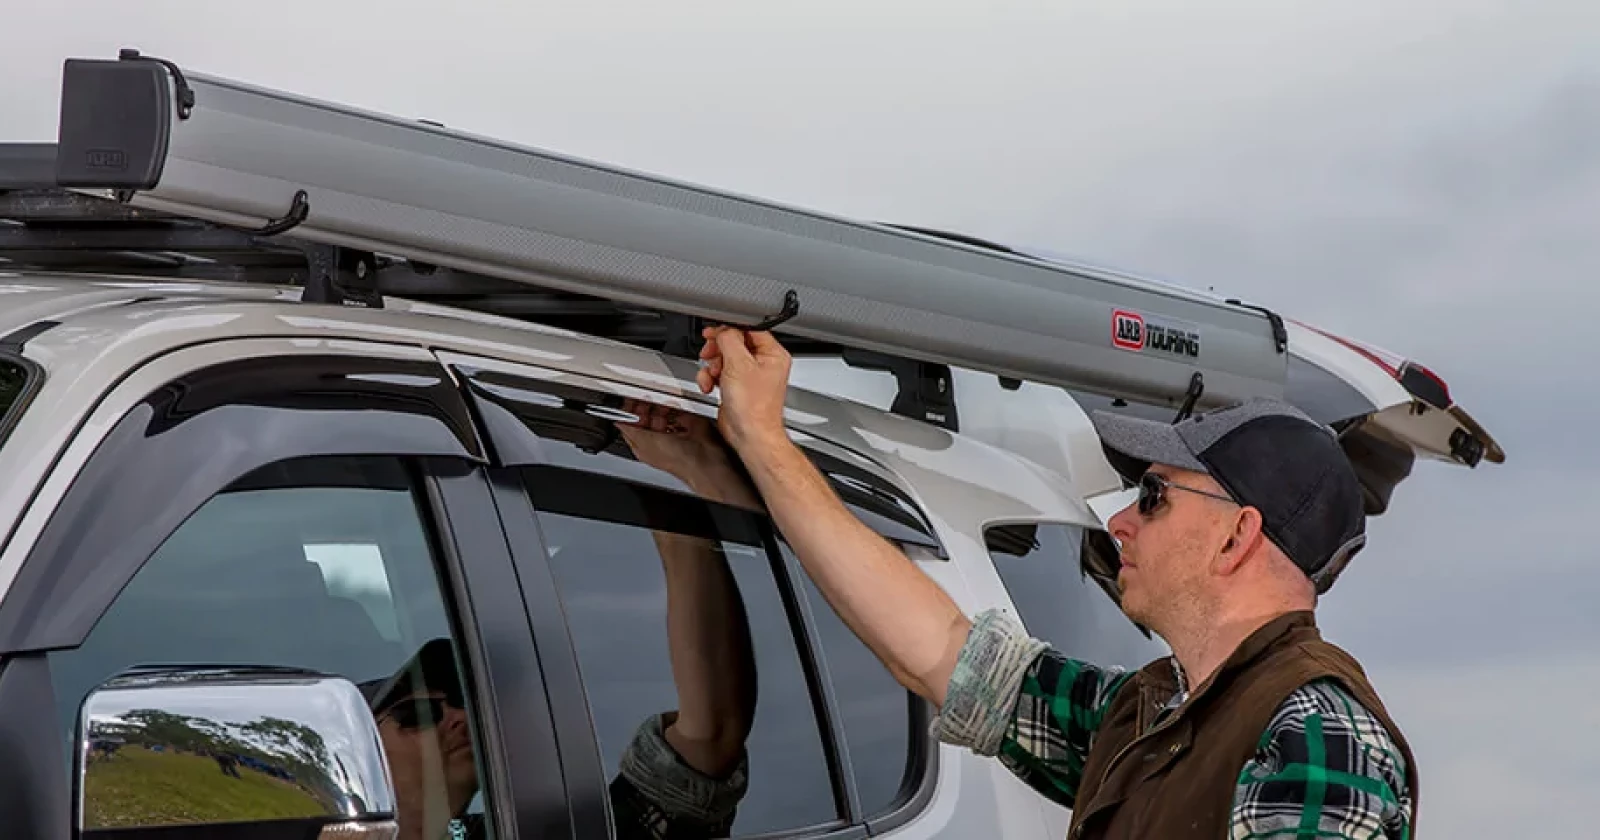
ARB’s Deluxe Awning Room is one of the most versatile overlanding accessories on the market. Whether you’re looking for protection from weather or a place to set up camp, we’ve got you covered. The ARB Awning paired with the Deluxe Awning Room is a go to for many overlanders because of its multiple configurations, uses, and compact shape when stowed.
You may be thinking, “an accessory like this is probably extremely difficult to set up!”
Allow us to convince you otherwise – this piece can be deployed in under 10 minutes single handedly!
2. Remove the Deluxe Awning Room from its bag and set the stakes aside.
3. Spread apart the awning room so it is completely flat. Try your best to keep the black floor on the ground.
4. Locate the wall with the removable zipper sail. Orient the room so that this wall/side is furthest from the vehicle.
5. Begin assembly with the wall that attaches closest to the vehicle. This will have a fixed strip that slides into the main awning beam channel. Slide the strip through the channel.
Be sure to support the opposite end of the strip while pulling. Failure to do so may result in tearing the sleeve that the strip lies in.
6. Remove the zipper sail on the opposite wall furthest from the vehicle.
7. Slide the fixed strip on the zipper sail into the front awning beam channel.
Be sure to support the opposite end of the strip while pulling. Failure to do so may result in tearing the sleeve that the strip lies in.
8. Zip the awning room onto the zipper sail.
9. On the left and right walls of the awning room you will see multiple open-ended hooks. Clip those hooks over the horizontal poles until they fully seat. Apply some pressure while also supporting the awning pole.
10. Using the same method from step 9, clip each hook onto the vertical poles.
11. Locate each strap and hook at the bottom of each of the awning room walls. There will be one strap and hook per corner and an additional in the center of the three exposed walls.
12. Locate the bag of stakes.
13. Stretch each of the straps and stake each of them down by hammering the stakes.
15. The basic installation of the ARB Deluxe Awning Room is now complete. Continue to learn more about its different configurations.
WALL CONFIGURATIONS
Walls 1, 2, and 4 can be unzipped to expose the mosquito net wall. The mosquito net wall can also be unzipped and stowed for a wide-open configuration.
Wall 3 can be unzipped for vehicle access.
WALL #1
Open wall 1 by unzipping each zipper on the left and right sides.
Once unzipped this wall can be used as a windbreak.
Or roll the wall from the bottom center until you reach the top for a ventilated but exposed configuration.
Use each of the hook and loop straps to hold the rolled wall in place.
The mesh wall can also be unzipped and rolled vertically for a fully exposed setup.
WALLS #2 & #4
Walls 2 and 4 have two half-walls.
Each half wall can be unzipped to expose the mesh. Use the same method for wall 1 to expose the mesh.
To open the entire wall, locate the three zippers. Unzip each of them.
Secure each side to their corresponding straps. Secure as you would a curtain.
WALL #3
This wall can be opened from the inside to gain access to your vehicle.
Up Next:
ARB Awning Bracket Guide
Review awning mounting options so you may purchase the proper mounting bracket for your needs...